Commercial HVAC installation in a tenant improvement follows a path with three big checkpoints: design, permits, and inspections. Miss a step on any of them, and the opening date slides. Handle each well, and the system goes in smoothly, starts up cleanly, and passes on the first try. This guide walks through that path in order, with the details owners and builders need at each stage.
These steps work for offices, stores, and clinics alike.
Stage 1: Programming the Space
First, before any drawings, the team needs to know how the space will be used. How many people will work there? What equipment will run? Which rooms need special conditions, such as server rooms or exam rooms? What hours will the business keep?
In fact, these answers shape every later decision. For example, a call center with many people needs more cooling and ventilation than a showroom of the same size.
Stage 2: Surveying Existing Conditions
Next, the mechanical contractor or engineer surveys the space. They check existing rooftop units, ducts, controls, roof structure, and electrical service. They also note ceiling heights and obstructions.
Reusing existing equipment can save money, but only if it fits the new use. A survey answers that question early.
Stage 3: Design for Commercial HVAC Installation
After that, the engineer designs the system. Key steps include:
- Load calculations for each zone
- Equipment selection and sizing
- Duct layout and sizing
- Diffuser and return locations
- Ventilation and exhaust design
- Controls and zoning plan
- Energy code compliance documents
Good design, in short, balances comfort, cost, noise, and efficiency. It also coordinates with lighting, sprinklers, and structure in the ceiling.
Stage 4: Permit Submittal
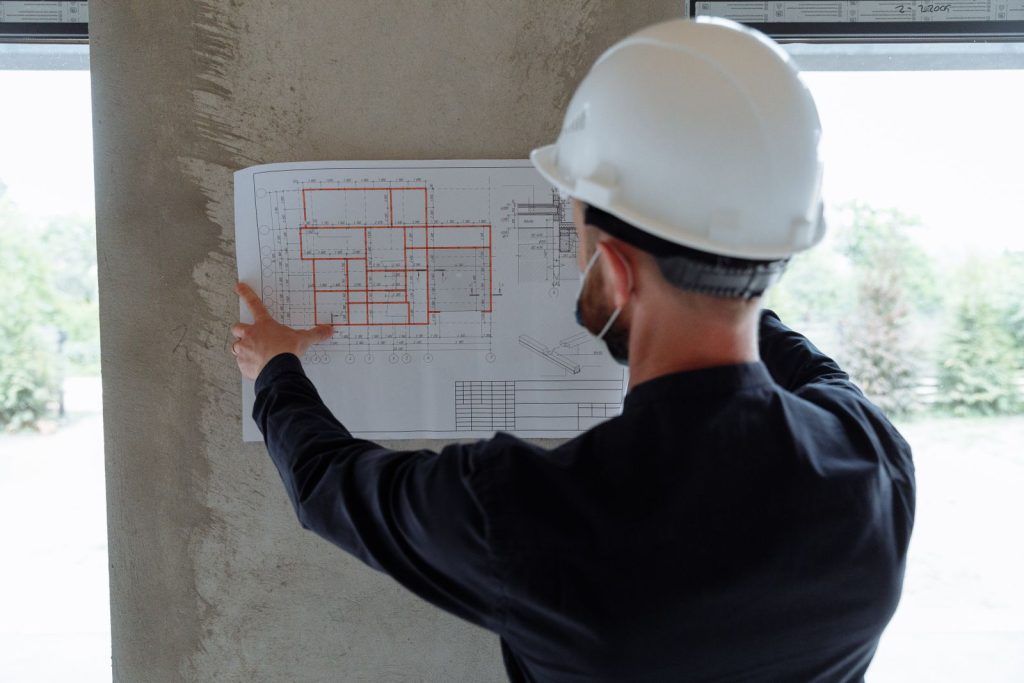
Once design is complete, the mechanical drawings go to the building department, usually with the full permit set. Reviewers check equipment sizes, ventilation rates, duct construction, fire and smoke dampers, and energy code compliance.
Of course, comments are common. Respond quickly and completely to limit review rounds. Model codes from the International Code Council form the basis of many local mechanical codes.
Stage 5: Procurement
While the permit is in review, order long-lead items. Rooftop units, air handlers, and controls often take the longest. Ordering early is one of the best ways to protect the schedule.
Stage 6: Commercial HVAC Installation on the Roof
After the permit issues, roof work begins. First, crews cut openings, install curbs, and flash them. Then a crane sets the rooftop units. Electricians bring power to each unit.
So plan crane days carefully. They need street permits, a clear lift zone, and good weather. Also, coordinate with the landlord’s roofer to protect the roof warranty.
Stage 7: Ductwork in a Commercial HVAC Installation
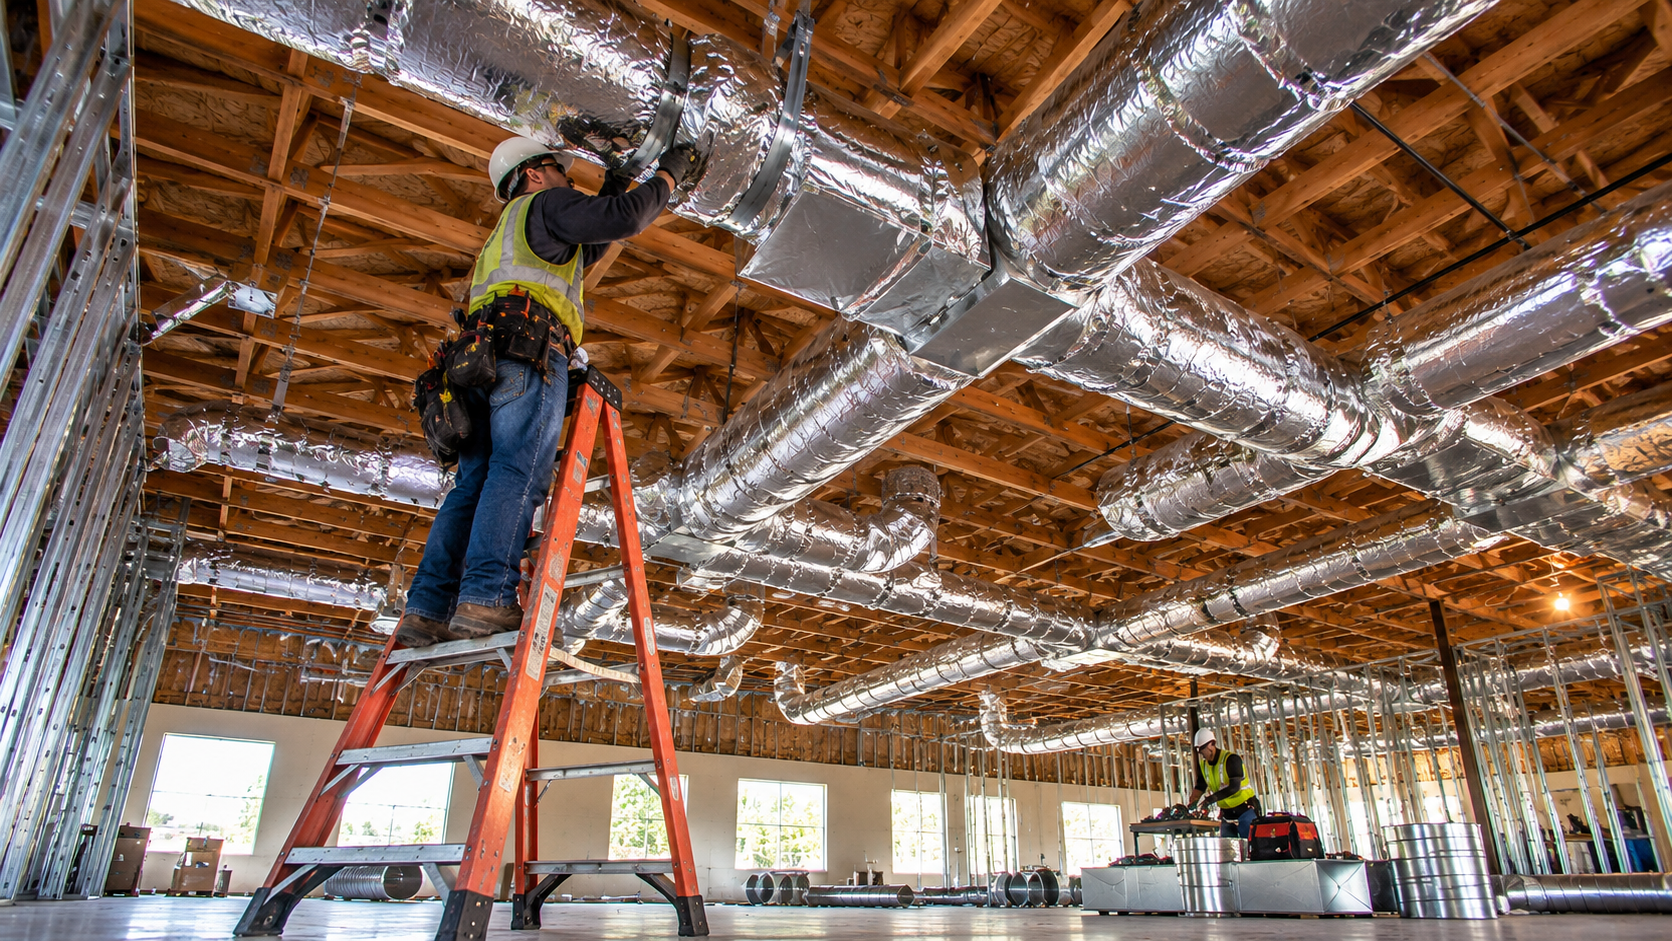
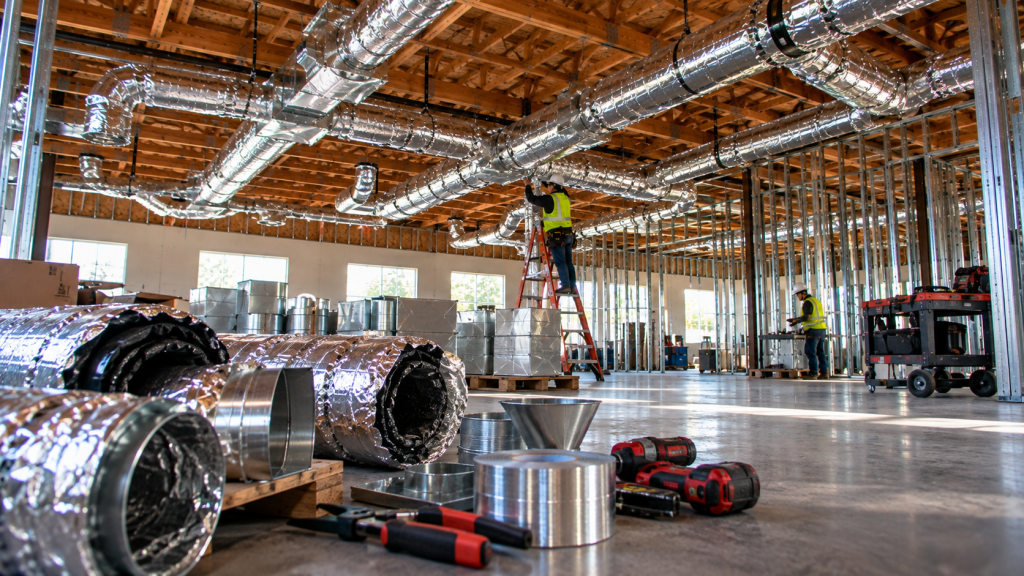
Next, crews hang ductwork above the ceiling. Main trunks go in first, followed by branches, VAV boxes, fire dampers, and exhaust fans. Then crews seal and insulate ducts as required.
Coordination with other trades is essential. Ducts are large, so they usually get priority in the ceiling. Other trades fit their lines around the ducts.
Stage 8: Above-Ceiling Inspection
Before the ceiling closes, an inspector checks the mechanical rough-in. They look at duct supports, fire dampers, access panels, insulation, and clearances. Passing this inspection allows the ceiling grid to go up.
Stage 9: Finish Work
After the ceiling grid is installed, crews set diffusers and grilles. Thermostats and sensors go on the walls. Controls technicians land wiring and program the system.
Stage 10: Starting Up the Commercial HVAC Installation
With power and controls in place, technicians start each unit. They verify refrigerant charge, airflow, electrical readings, and safety controls. They also check economizers and dampers.
Stage 11: Testing, Adjusting, and Balancing
A balancing technician then measures airflow at each outlet and adjusts dampers to match the design. They also confirm outdoor air rates and fan speeds. Their report goes into the closeout binder. Our balancing services page explains more.
Stage 12: Final Inspection
Finally, the mechanical inspector returns. They check equipment, controls, smoke detectors in ducts, and energy code requirements. Some jurisdictions also require functional testing or commissioning. Our post on acceptance testing explains how this works in stricter markets.
Common Commercial HVAC Installation Problems
- Equipment ordered too late
- Ducts that clash with structure or sprinklers
- Missing fire dampers at rated walls
- Controls not ready for balancing
- Failed inspections from missing access panels
How Long Does It Take?
Paperwork and permits eat up the first stretch. Then gear arrives on its own clock. The field crew itself may only need days on a small suite. Start-up and balancing usually happen in the final weeks.
What the Owner Should Do
Owners have a part to play too. First, decide on the use early and stick with it. Big changes late in design cost time. Second, approve submittals fast. Every day of review is a day of delay. Third, pick finishes like diffuser style early. Finally, plan move-in after the final inspection, not before. These simple steps help any commercial HVAC installation go smoothly.
Quality Checks Along the Way
Good crews check their own work. For instance, crews look at duct joints before insulation goes on. Next, the lead confirms hangers are tight. Fans get a test run before the ceiling closes. Photos round out each step. These small habits catch problems when they are cheap to fix. As a result, inspections pass the first time.
Safety During Commercial HVAC Installation
HVAC work has real risks. Crews work on roofs, ladders, and lifts. They handle heavy units, sharp sheet metal, and live power. So safety must come first. Good contractors use fall protection near roof edges. In addition, they lock out power before touching equipment. They also keep the crane zone clear. The OSHA rules cover most of these tasks.
Communication During Commercial HVAC Installation
The best installs share one trait: clear talk. For example, the mechanical lead joins weekly meetings. Also, problems get raised early, and changes get priced fast. Owners get short updates. As a result, small issues never grow into big delays. In short, a good commercial HVAC installation depends as much on people as on parts.
Closeout Papers
At the end, the owner should get a full set of papers. This includes as-built drawings, manuals, warranties, the start-up report, and the balancing report. Keep them in one place. They make future repairs and changes much easier.
Restaurants and Special Spaces
Some spaces need extra steps. Restaurants need kitchen hoods, exhaust fans, and makeup air. These often need their own permits and inspections. Labs need fume hoods and careful pressure control. Clinics may need special filters. So tell your team about any special rooms on day one. That way, the design, permits, and parts all line up.
Choosing an Installer
Look for a contractor with steady tenant improvement experience. Ask about their design partners, crane planning, controls capabilities, and inspection record. Also, confirm licensing and insurance.
FAQ on Commercial HVAC Installation
Does commercial HVAC installation always need a permit?
In most jurisdictions, yes, for new equipment, duct changes, and system modifications.
Who calls for inspections?
Usually the mechanical contractor or the general contractor holding the permit.
Install It Right the First Time
Careful design, permitting, and inspection planning keep your project on track. See our TI HVAC contractor page, or get an install quote.